Having a Dutch oven in your kitchen is a life-changer. And no, I’m not exaggerating. Since the majority of people, especially young bucks, rely on fast food and instant meals to sustain their bodies, it is easy to see what negative effects it has on their lives. However, with dutch oven recipes, you can get healthy meals that are beneficial to your body and prepare food without a fuss.
So, if you are confused about buying one of these heavy cooking pots, here are some recipes to convince you how easy cooking can get with Dutch ovens and why it is a staple in your kitchen gadgets.
What Is A Dutch Oven?
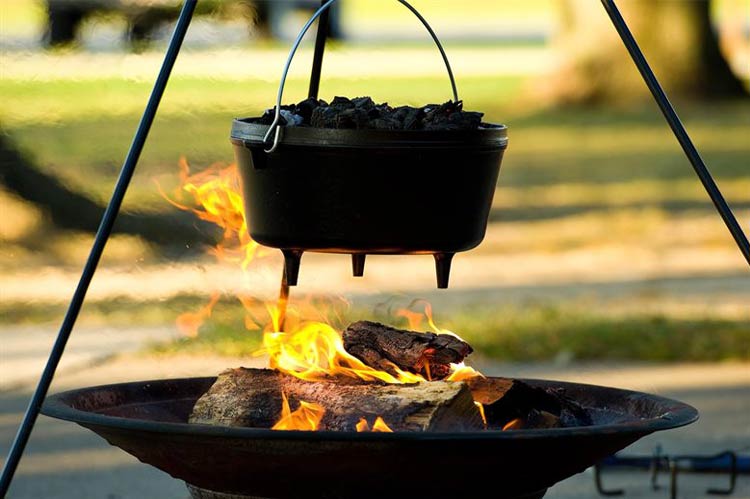
Previously, thick-walled stoves made of brick were called Dutch ovens, in which food was cooked through the extremely heated surrounding walls. Dutch ovens are pots made of cast iron with tightly fitted lids. They are similar to pressure cookers but only better. Dutch pots are primarily used for dutch oven recipes and slow cooking such as soups and casseroles.
Why Use It?
Sure, you can make food more quickly with a regular pot or pan, but it won’t be as tasty as food cooked through dutch oven recipes. Moreover, it’ll cost you more in the long run. Dutch ovens allow heat to transfer equally in all directions inside the pot, meaning your food is cooked more thoroughly. This is also the reason why they require such low energy. But more than anything, Dutch cooking ovens are versatile. You can prepare a wide variety of food in them, from roasting to baking, steaming to stewing; it’s all possible with a single cooking vessel.
Few Things To Keep In Mind
There’s a special Dutch oven perfect for everyone in the market, the trick here is to find the one most suitable for you. What works for other people might not work for you; therefore, keep your preferences first when buying a Dutch pot. Here are a few things to keep in mind:
- The Material – Dutch ovens come in a variety of materials. You can choose anodized aluminum, which is lighter and doesn’t rust, or you can opt for traditional cast iron, which is heavy but distributes heat evenly in the pot.
- Thickness – The next thing is to inspect the thickness of the pot. A perfect Dutch oven should have thick walls as well as a bottom. The lid should also be thick and tight-fitting. It’s also wise to check if the handles are big enough to be held with gloved hands.
- The Size – Dutch ovens are available in various sizes, from small to medium large. However, our advice is to go for a large one even if you cook only for yourself. Look for a Dutch oven that is at least 6 quarts, which you need to braise a whole chicken.
- The Price – In the case of cooking wares, price is usually a good indicator of the quality. Therefore, the more expensive the pot is, the better it’ll perform. But you don’t need to adhere to this standard. Since Dutch ovens range between $50 to $300, we’re sure you can find something in your budget.
Ready For The 4 Toothsome Recipes
So if you’ve got a Dutch oven you’re dying to use, here are some mouthwatering recipes to try for the first time.
1. Braised Ribs
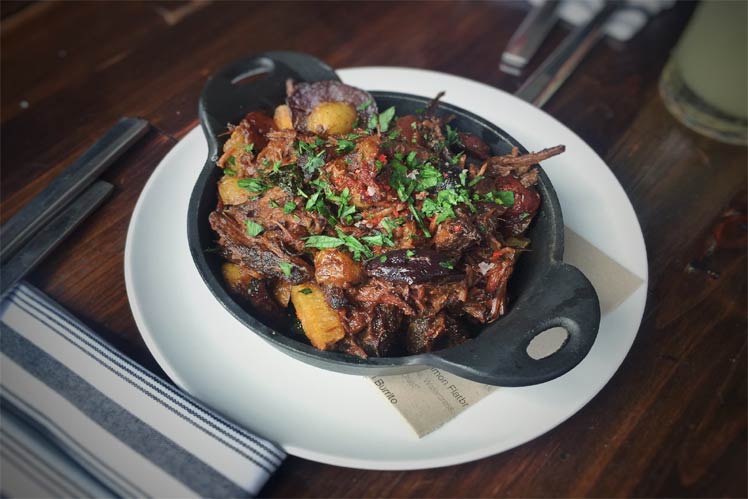
If you want a heavy-on-the-meat kind of dinner, braised short ribs it is. Not only is its juicy, tender meat a staple for winter dinners, but it’s also super easy to cook.
Ingredients
- Short Ribs – 3 pounds
- Vegetable oil – 2 tablespoons
- Sliced onion – 1
- Minced garlic – 4
- Liquid such as wine, beer, or sodium broth – 3 cups
- Salt and Pepper – to taste
- Fresh herbs such as thyme and rosemary – 2 to 4 sprigs
Recipe
Preheat the oven to 325°F.
Prepare the ribs by brushing each one with vegetable oil and sprinkling salt and pepper. Put a deep, wide Dutch oven over the stove at medium heat and put the short ribs in it. Let them brown deeply before turning to the other side. Make sure to sear the ribs on all sides. You can work in batches if required. After all the ribs are browned, put sliced onions and garlic to the side. Wait till they’ve softened before adding the liquid to the pot. Add the herbs after the liquid has come to a simmer, then cover the Dutch pot tightly and put it in the preheated oven.
Let it cook for 2 to 3 hours and it is ready. Make sure to serve it with potato salad at dinner.
2. Chicken Soup
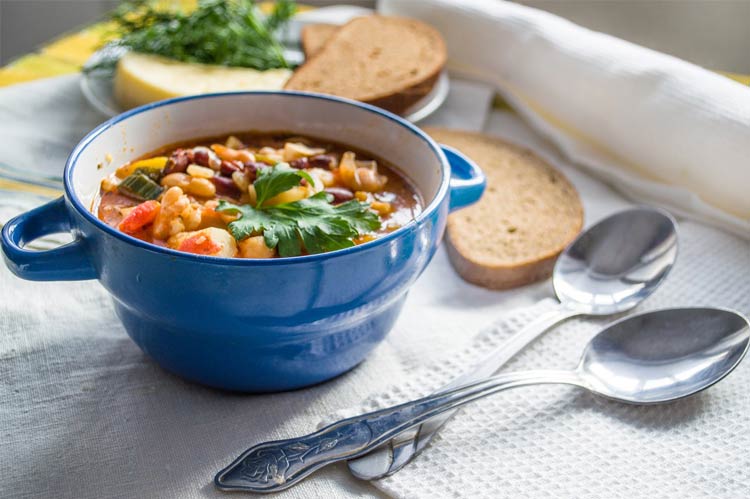
Soups are the ultimate food to prepare in a Dutch oven, especially chicken soup. Nothing fills a stomach like a well-seasoned, slowly simmered chicken soup over dinner. You can also enjoy it with lightly seasoned noodles for lunch.
Ingredients
- Chicken breast and thighs – 2 ½ pound
- Chicken stock – 8 cup
- Sliced carrots – 2
- Sliced celery stalks – 2
- Onion – 1 (chopped)
- Garlic cloves – 5 ( chopped)
- Flat leafed parsley – 3 tablespoons (chopped)
- Dry white wine – ¼ cup
- Olive oil – 2 tablespoons
- Salt and Pepper – to taste
- Fresh lemon juice – 2 tablespoons
Recipe
Pour oil into a Dutch oven and put it on the stove over medium heat. Add the chopped onions, carrots, garlic cloves, and celery stalks into the pot and season it with reasonable salt and pepper.
Stir it occasionally and cook for 8 to 10 minutes.
Add wine and further cook the mixture for a minute or two until it is syrupy. Now, throw the chicken pieces and chicken stock into the pot and bring it to a boil over high heat. Once it has boiled, simmer the soup over low heat for an hour. Season it with parsley and lemon juice before serving.
4. Spiced Apple Fritters
Lunch and dinner ideas are good, but Dutch ovens are also excellent at making desserts. If you are missing apple pie this afternoon, but are too intimidated by baking, then here is a simple and easy-to-make version of the apple pie to try in your new Dutch oven.
Ingredients
- All-Purpose flour – 1 ¼ cup
- Brown sugar – 2 tablespoons
- Baking powder – 1 ½ teaspoon
- Apple pie spice – 1 teaspoon
- Granulated sugar – ½ cup
- Salt – ¼ teaspoon
- Canola Oil – for deep frying
- Apple cider – ½ cup
- Vanilla extract – 1 teaspoon
- Large egg – 1
- Apple – 1 (large)
Recipe
Preheat it to 350°F.
Fill the Dutch oven with enough oil to fry the fritters.
Whisk together the dry ingredients in a bowl: flour, baking powder, salt, half tsp of apple spice, and brown sugar. In a separate bowl, mix together the wet ingredients, that is, the egg, vanilla extract, and apple cider. Combine both mixtures together by slowly adding wet ingredients to dry ingredients. Mix until it forms a uniform batter. Grate a peeled apple into the batter. You can add apple slices to it as well. Drop spoonfuls of batter into the heated oil and fry until golden brown. It usually takes 2-4 minutes. Mix granulated sugar and the remaining apple spice in another bowl and toss freshly fried fritters in it. Serve at room temperature with afternoon tea.
3. No-Knead Bread
Dutch ovens are best at simmering stews and braising meat and stellar at baking. This no-knead bread is especially a favorite of beginners and experts alike. It is easy, tastes great, and can be an ideal breakfast for summer mornings.
Ingredients
- All-purpose flour – 1 pound (about 3 cups)
- Salt – 2 teaspoons
- Active dry yeast – ¾ teaspoons
- Lukewarm Water – 1 ½ cup
Recipe
Preheat the oven to 450°F.
First, mix the flour, yeast, and salt in a bowl. Then, make a dough by adding the water slowly into the mixture. You dont have to worry about doing it perfectly; just make a rough dough. Cover the bowl and let it sit for at least six hours. Ideally, you should let it sit overnight and bake it first thing in the morning. Shape the dough in a sphere on lightly powered parchment paper and let it sit for another hour.
Including the Dutch oven. After the hour is up, place the raised dough in the Dutch oven and cover the lid. Let it bake for half an hour. Make sure the dough is double in size before taking it out of the oven. Slice it after it has cooled, and enjoy.
Featured Image Source: Defense

