Forget buying commercially produced Nut Milk! Here’s how to make nut milk at home so you can have a fresh and hygienic diet without worrying about preservatives and chemicals.
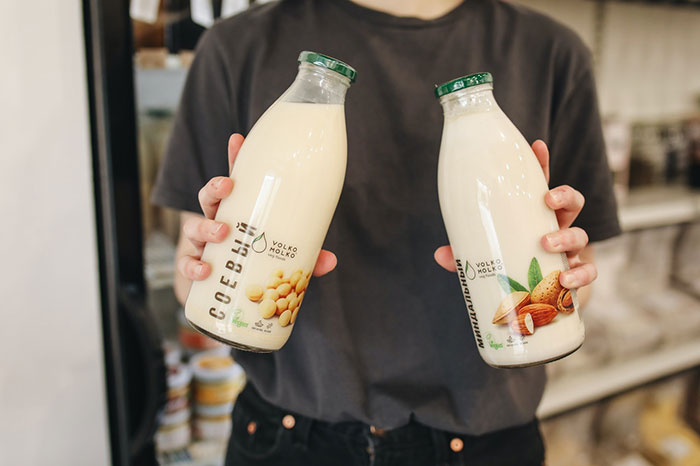
The use of non-dairy milk (or plant milk) by humans dates back to hundreds of years ago. People consume plant milk for a variety of reasons. Some use it because they are lactose intolerant, while others use it for the nutritional value. Seed milk or nut milk is also very popular in the vegan and paleo diet as a substitute for the dairy milk. The market for non-dairy milk is ever growing and was valued at $16 Billion US dollars in 2018. It has only grown further in the past years and 53 percent of the American consumers voted in favor of switching to a plant-based diet.
Turning to plant milk has many benefits. We’ll discuss them in detail later in this article. Nevertheless, some people prefer this type of dairy mainly because of nut milks flavor. You can learn how to make nut milk at home and have a fresh and natural supply. But first we must answer the obvious question below.
What is Nut Milk?
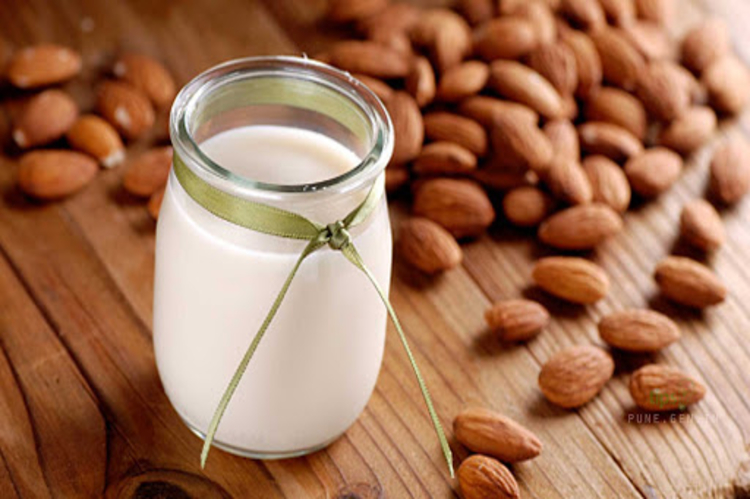
Nut milk is a type of plant dairy that is not actually a milk but a white lathery plant juice that resembles dairy milk. While there are other types of plant milks like soy and rice milk, nut milk refers to the white juice made solely from nuts. These milks are rich in nutrients and vitamins. Although, they also lack some proteins and vitamins that are present in dairy milk. However, products like Silk Protein nut milk and other commercially manufactured nut milks have plant-based proteins to meet your daily nourishment needs.
Types of Nut Milk:
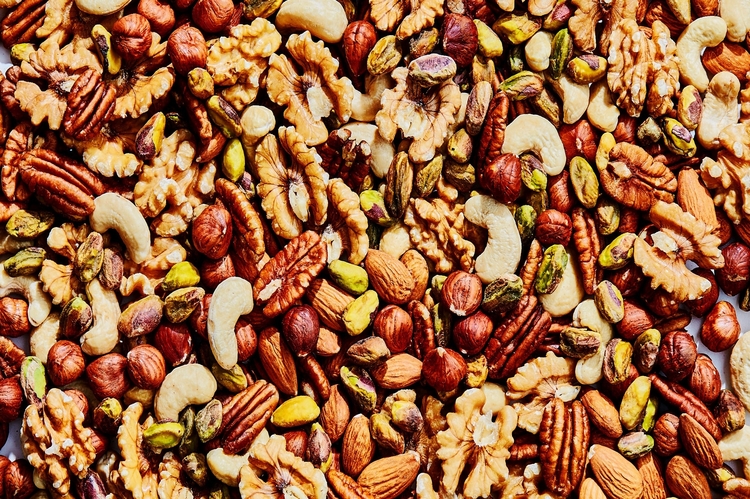
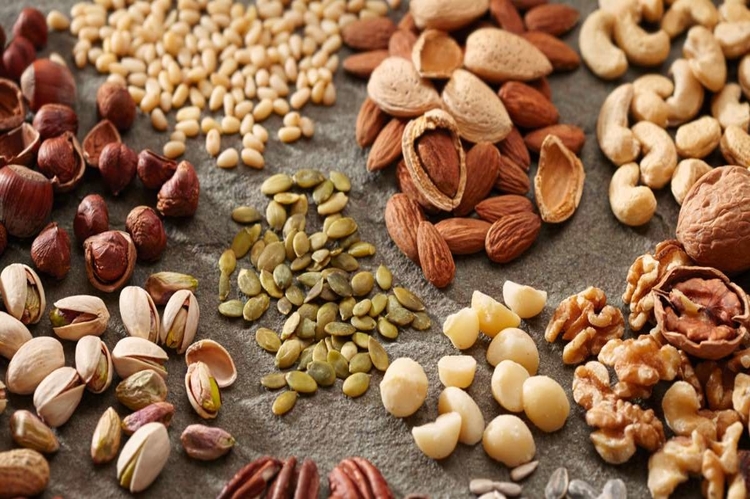
There are several types of nut milks available and you can try them all to choose your preference. Though the term nut milk refers to the white juice obtained from conventional nuts, there are other plant milk too that people call nut milk because of their names as you can see below. Here’s the list of all the popular flavors and varieties you can choose from:
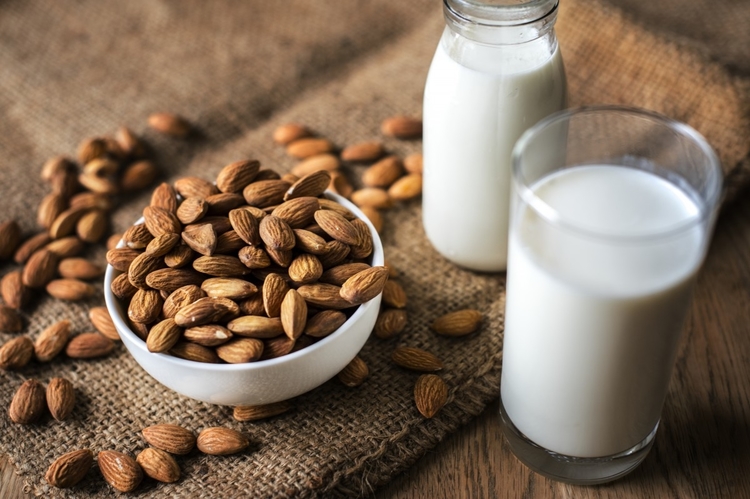
- Almond Milk
- Brazil Nuts
- Cashew
- Hazelnuts
- Macadamia
- Pecan
- Pistachio
- Walnuts
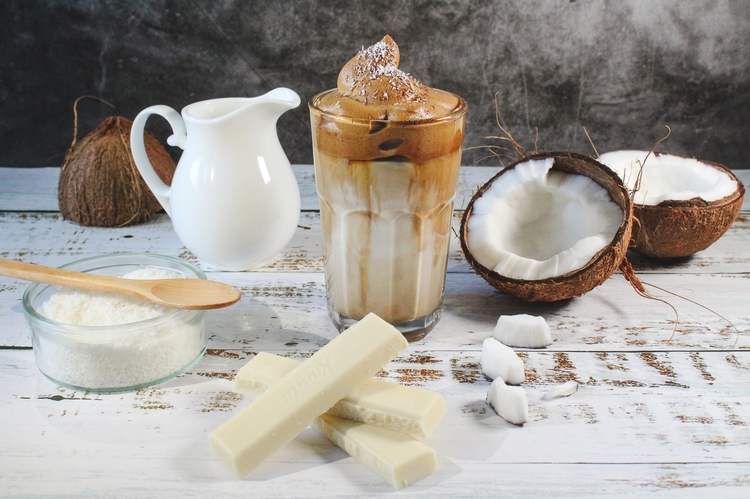
- And (because it is technically also a nut) Coconut Milk
- Tiger nuts (not a nut but a tuber)
- Peanuts (Not a nut but a legume)
How to Make Non-Dairy Milk at Home?

Well, learning how to make nut milk at home is an easy task. You just have to follow the guidelines below and voila! You have prepared your very own homemade nut milk. Let’s start:
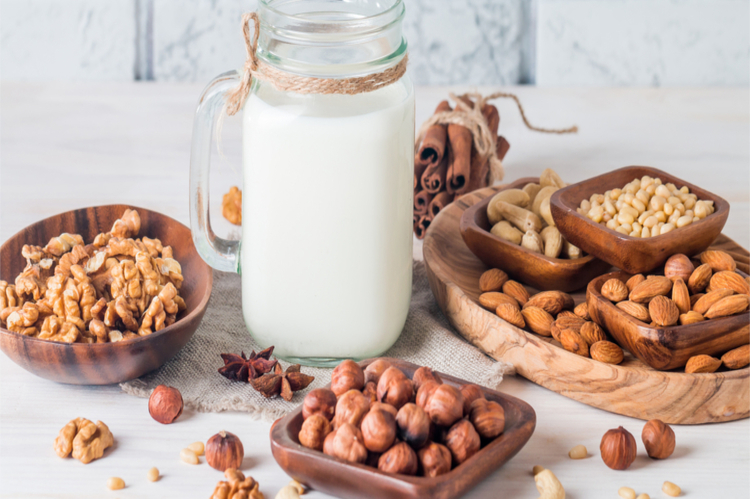
Buying the Right Nuts:
The first thing to start making your own nut milk at home is by choosing which nuts you want to ‘milk’. As stated above, there are a variety of choices available. Each with its unique taste and dietary value. Choose the best one suited to you depending on its price, availability, taste, and nutritional value.
Once you’ve decided which nuts to go with, buy them fresh and raw. Although, you can buy them roasted, however, managing them is harder than raw nuts and seeds. Raw nuts last longer, meaning they have a longer shelf life and give a better results to soaking and blending. All that’s left after buying them is to let them soak.
Why is Soaking Nuts and Seeds Important?
Soaking the nuts is important for multiple reasons. Firstly, if you want to remove the skin, its easier to do so to nuts soaked overnight. Secondly, soaking the nuts in water makes them soft, consequently giving a creamier and more flavorful milk. Additionally, soaking also helps cleanse the nut of its acids and makes them easier to digest apparently.
As for how long should you leave them soaked in water? Well, you can achieve best results after 48 hours. However, if you don’t have time, leaving them overnight will also do the trick. Make sure to rinse them thoroughly in cold water after soaking and then let them drain for a few minutes before blending.
Blending:
This step is crucial in learning how to make nut milk at home. The nut milk is produced by grinding the nuts and water together to make a milky juice. Now, to do this, you can either use a blender or a food processor. A high-powered blender is ideal for this, however, if you don’t have one you can just blend for a longer period in a normal blender or food processor to achieve same results.
For 1 cup of nuts, you’ll need to add two cups of water. Place the cover on the blender and turn it on full speed. Blend for a minute and then pause to let the broken down pieces of nuts settle to the base. Again, blend for 2 full minutes or till you get a milky white and opaque suspension.
Straining:

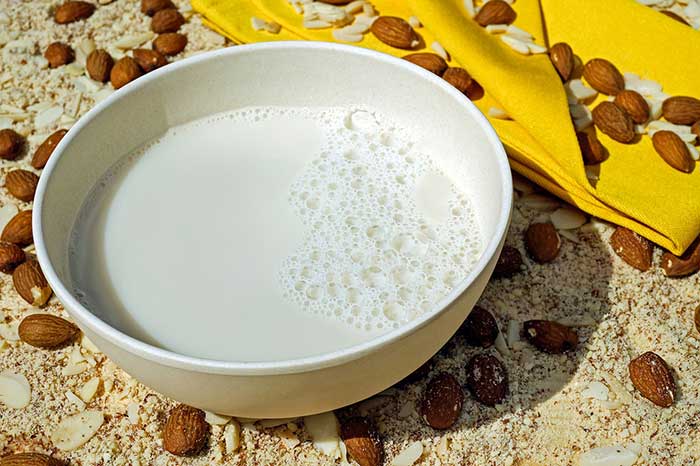
Now comes the time to strain the milk from this suspension. You can do this with a fine mesh nut milk bag, or a fine strainer lined with a linen or a cheesecloth. Now strain the blended liquid into a container or the nut milk bag. You should get more than two cups of now-ready-to-drink nut milk and a strainer full of pulp (which is also useful). That’s how to make nut milk at home! Now all you got to do is to sweeten it if you like and then let it chill in the fridge before serving.
The strained nut milk has a shelf life of 4 days in the refrigerator. If it separates, just shake it back before serving.
Sweetening to Taste:

If you prefer your milk sweet, you can sweeten the milk by adding sweeteners such as sugar, honey, or maple syrup. You can add them early on in the blending process or after straining. Though, if you want to use the nut pulp for other recipes, it is best to wait till after the straining so the pulp retains its natural flavor.
What to do with the Leftovers from Nut Milk?
Now that you’ve learnt how to make nut milk, what to do with the leftovers? The leftovers from the straining, i.e., the pulp of the nuts is also very useful. You can use it in many recipes. The best thing is that you can freeze it to use later too.
These are the recipes in which the nut pulp can come in handy:
- Nut Breads
- Smoothies
- Cake
- Pancakes
- Oatmeal Cereals
- Granola Cereals
- Etc.
The 10 Health Benefits of Nut Milk:
It is true that there are many benefits of dairy milk, however plant milk is no less nutritious. There are plenty of health benefits of nut milk that make them a great alternative milk. As you saw above, even their leftovers are useful for preparing other meals. Apart from being vegan, people also prefer homemade nut milk for the high values of nourishing minerals and vitamins found in the nuts. Here are ten health benefits of nut milk that you need to know about:
- They have much lower calories than dairy milk. Hence, great for weight loss and healthy diet
- While some nuts have almost the same quantity, other nuts like almond, have more of calcium and vitamin D than cow’s milk.
- The best thing is that they are vegan and a much eco-friendlier choice than conventional animal milk.
- Very few carbohydrates (1-2 grams per cup) as compared to carb rich dairy milk.
- Furthermore, no saturated fats or cholesterol!
- High amounts of Vitamin E, which is a prevailing antioxidant. That means more detox and less aging! Also, a stronger immune system that fights off many diseases.
- No lactose, which is a great news for the lactose intolerant.
- Good for people with kidney issues because of minimal amounts of phosphorous and potassium.
- Easy to obtain and you can use it just as regular milk in your recipes.
- Different nuts have different nutritional properties, such as Brazil Nuts are full of selenium, a great antioxidant. While walnuts have omega-3, and pecans have a high content of minerals such as manganese, copper, thiamin, and phosphorus.
The Forewords:
Now you know how to make nut milk at home so you don’t have to buy commercially-made plant milks from the store. We hope you enjoyed and learnt from this guide. We would love your feedback in the comments!